
How to set up a Virgin Media WiFi Hub
Whether you’re a new customer setting up equipment for the first time or you need to replace a Hub, follow our step-by-step guide to get set up in no time.
Do you need to uninstall an old Hub?
Once you’ve received the new Hub and are ready to set it up, you’ll need to uninstall the old one first. It’s super simple and can be done in a few steps:
Turn off the power supply: Switch off the power at the socket and unplug the old Hub.
Remove power supply lead: Switch off the Hub at the back and remove the power supply lead (you’ll be using the new power supply pack that comes with the new kit).
Disconnect the Hub: Remove all the cables from the back of the Hub – you may need to use the spanner provided on the connector cable, but make sure you don’t remove it from the wall socket as you’ll be using it for the new Hub.
With the old Hub uninstalled, you can set up the new one we’ve sent you and get back to enjoying ultrafast broadband.
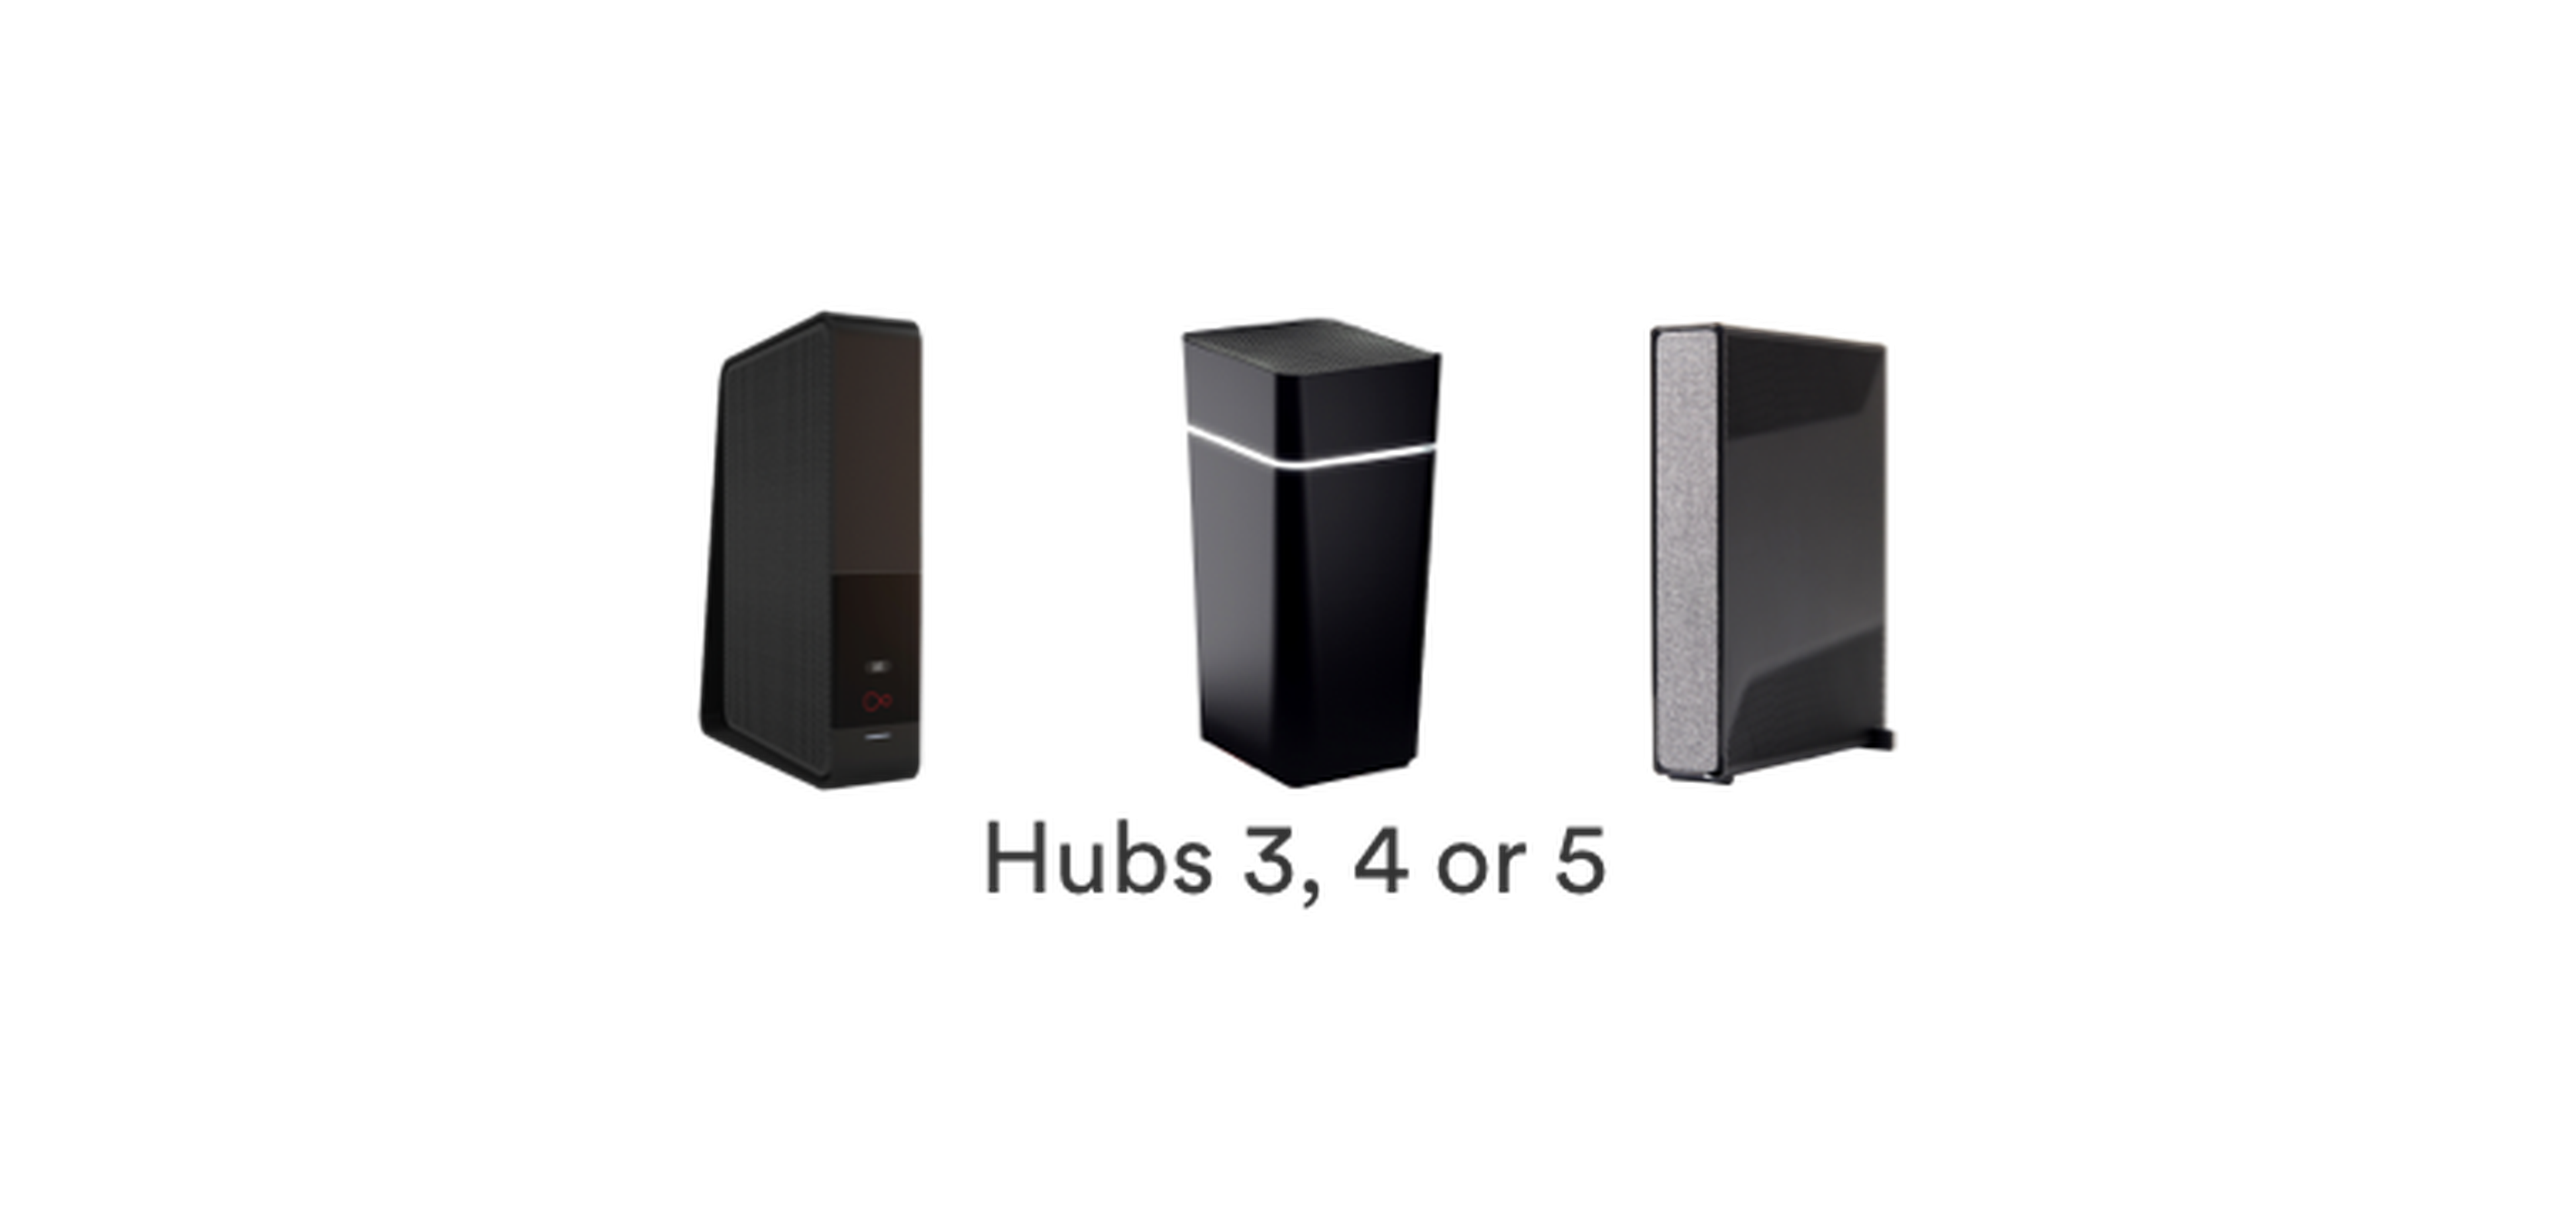
It’s really important you return the kit if we’ve asked you to, otherwise you may be charged – there’s a guide in your QuickStart box that explains how to return it.
If we haven’t asked you to send the kit back, please recycle it. You can find information on how best to do that
How to set up a Hub 5
Step 1: Connect to the wall socket
Take the red-banded end of the isolator cable and push it firmly into the Virgin Media socket on your wall. If you’re also installing a TV box, connect the black-banded end of the isolator cable to the socket marked ‘Wall’ on the connector cable.
Step 2: Connect the Hub
Take the blue or black-banded end of the isolator cable and connect it to the socket at the back of the Hub. Push it firmly into place.
Step 3: Connect the power supply
Connect the power cable to the back of the Hub, then plug it into the wall socket and switch on the power supply on the Hub and the wall.
Step 4: Getting connected
The Hub will now make a connection to our fibre network. When the WiFi light is on and the base light is solid white, the Hub has connected to our network successfully.
Step 5: Stabilise the connection
Once the new Hub is connected, it can take up to 30 minutes before your connection is stable. Check that all your cables are securely connected.
Step 6: Connect to your new WiFi
Your new WiFi network will be called something like VM1234567. The connection details are on the base of the new Hub and on a removable card.
How to set up a Hub 4
Step 1: Connect to the wall socket
Take the red-banded end of the isolator cable and push it firmly into the Virgin Media socket on your wall. If you’re also installing a TV box, connect the black-banded end of the isolator cable to the socket marked ‘Wall’ on the connector cable.
Step 2: Connect the Hub
Take the blue or black-banded end of the isolator cable and connect it to the socket at the back of the Hub. Push it firmly into place.
Step 3: Connect the power supply
Connect the power cable to the back of the Hub, then plug it into the wall socket and switch on the power supply on the Hub and the wall.
Step 4: Getting connected
The Hub will now make a connection to our fibre network. The light on the Hub will fade and may change colour as it connects. When the fading stops and the light is a constant dimmed white, the Hub has connected to our network successfully.
Step 5: Stabilise the connection
Once the new Hub is connected, it can take up to 30 minutes before your connection is stable. Check that all your cables are securely connected.
Step 6: Connect to your new WiFi
Your new WiFi network will be called something like VM1234567. The connection details are on the base of the new Hub and on a removable card.
How to set up a Hub 3
Step 1: Connect to the wall socket
Take the red-banded end of the isolator cable and push it firmly into the Virgin Media socket on your wall. If you’re also installing a TV box, connect the black-banded end of the isolator cable to the socket marked ‘Wall’ on the connector cable.
Step 2: Connect the Hub
Take the blue or black-banded end of the isolator cable and connect it to the socket at the back of the Hub. Push it firmly into place.
Step 3: Connect the power supply
Connect the power cable to the back of the Hub, then plug it into the wall socket and switch on the power supply on the Hub and the wall.
Step 4: Getting connected
The Hub will now make a connection to our fibre network. When the WiFi light is on and the base light is solid white, the Hub has connected to our network successfully.
Step 5: Stabilise the connection
Once the new Hub is connected, it can take up to 30 minutes before your connection is stable. Check that all your cables are securely connected.
Step 6: Connect to your new WiFi
Your new WiFi network will be called something like VM1234567. The connection details are on the base of the new Hub and on a removable card.
What to do if the Hub isn't working
When you have problems with your broadband connection, it’s best to first run a test using our service status checker to check for any issues.
If you don’t want to run a test right now, just read our tips below.
How to fix Virgin Media WiFi issues
Try these steps to fix most Virgin Media connection problems:
1. Make sure all the wires coming into and out of the Hub are pushed in firmly
2. Reboot the Hub by turning it off and then on again
3. If that hasn’t helped, reset both the Hub and the WiFi back to their original settings
4. If it’s only one device that’s having trouble connecting, it’s also a good idea to restart the device – this is usually done by powering it off and back on again
Finally, make sure you reconnect all your devices again using the network name and password on the Hub
Installing TV and home phone?
Before getting your TV or home phone kit set up, you should first make sure that your Hub and broadband is all up and running.
Once that’s ticked off, you can move onto either the TV or home phone service next – it shouldn’t take much more than an hour to get everything set up if you’ve got all 3 Virgin Media services to install.
You can find more information on how to set up any other services below.
WiFi Hub set up FAQS
Make sure to keep the Hub out in the open, as objects can block and slow down WiFi speeds. Signals from baby monitors, fish tanks and cordless phones can also interfere with WiFi signals – aim for at least 1 metre of clearance.
Setting up the Hub in the best position will mean that you’ll get a constant WiFi signal strength in your home.
Handy tip
Keep the Hub upright on a hard surface, with its lights facing into the room. That way your Hub’s strongest WiFi signal goes outwards – not into the floor.
